Adobe Bridge
Download the PDF
View Video Tutorial
This page includes basic instructions for embedding metadata in digital images using Adobe Bridge. Follow these steps and when you send an image file out into the world, your caption, keywords, location information and more can travel with it.
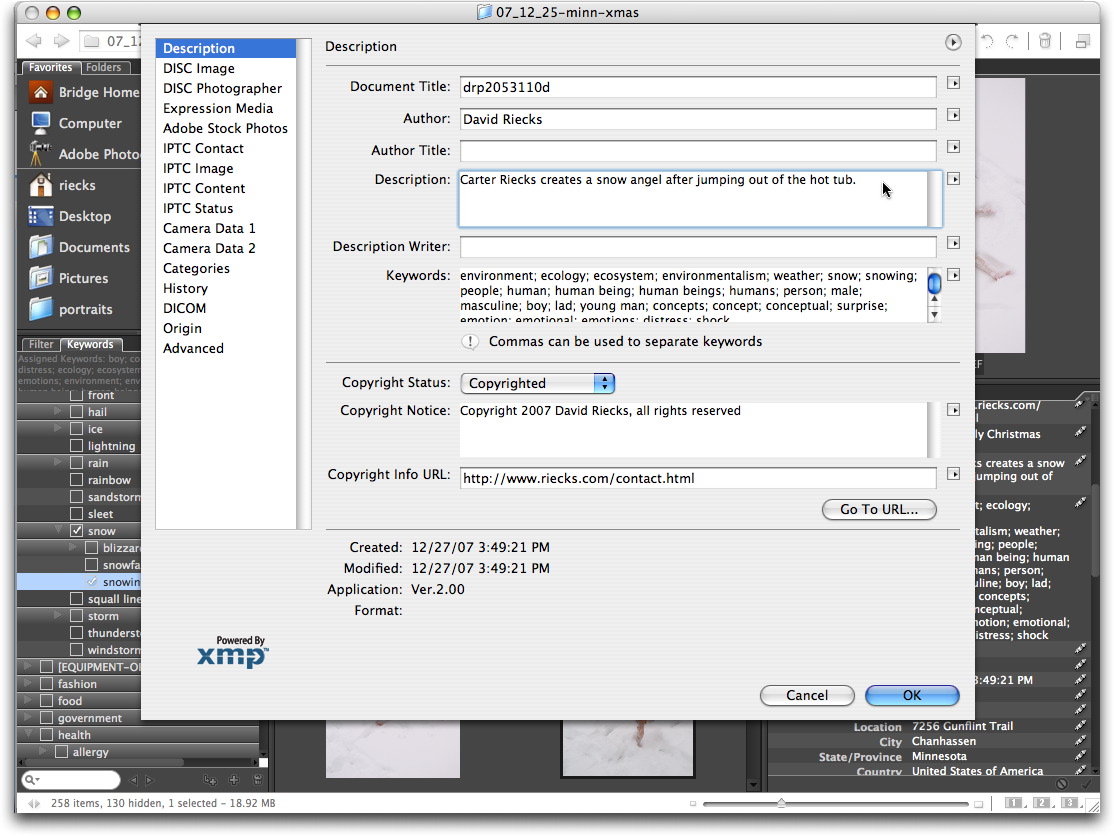
The File Info dialogue box in Adobe Creative Suite applications includes IPTC Core metadata fields. With these fields, you can add copyright and contact information, as well as caption, keywords and location. Adobe provides a couple of ways for Creative Suite users to embed metadata in images. You can enter it directly into the metadata panel within Bridge, or even open the File Info feature directly from within Bridge. This direct writing of the metadata is important, since when using Bridge, you can change the descriptive information for a JPEG image without subjecting it to an additional round of compression.
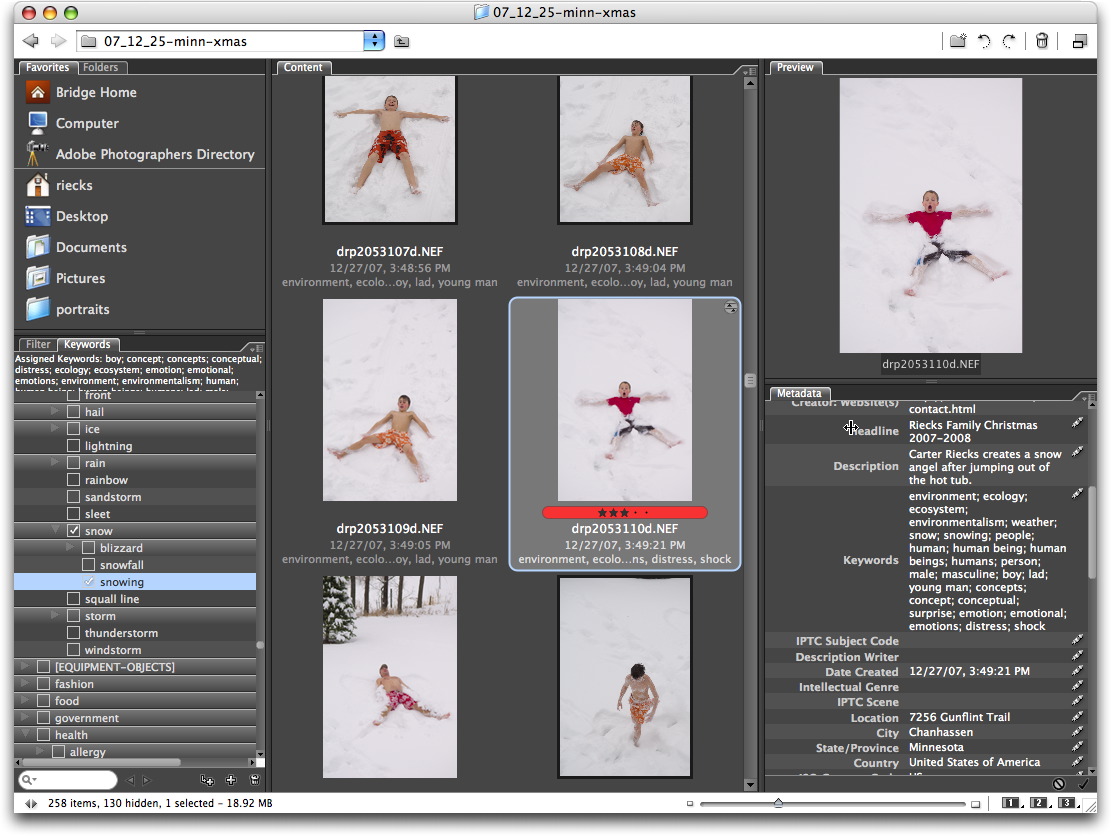
What we now call Bridge began as the version of FileBrowser in Adobe Photoshop CS. In all versions of Photoshop since CS, this browser application is called Bridge, exists separately from Photoshop and is arranged like a light table. Since it provides easy access to a variety of digital media (including video files), applications and settings (not just images), Bridge serves as a control hub for the Adobe Creative Suite. When working with photographs, you can view image thumbnails, delete the images you don’t like and add descriptive information, so you can find them again later. In addition, you can apply or copy Camera Raw settings, and search for images based on a wide variety of metadata.
The Bridge version that ships with Creative Suite 4 applications includes an expanded set of features and in certain ways resembles some cataloging programs. Since various Adobe Creative Suite products include Bridge, photographers just starting out tend to use it for editing, organizing and embedding metadata in their images. Those with an itch for speed may move on to other applications, but it is useful to understand how Bridge works, since you are likely to use it at some point for accessing images.
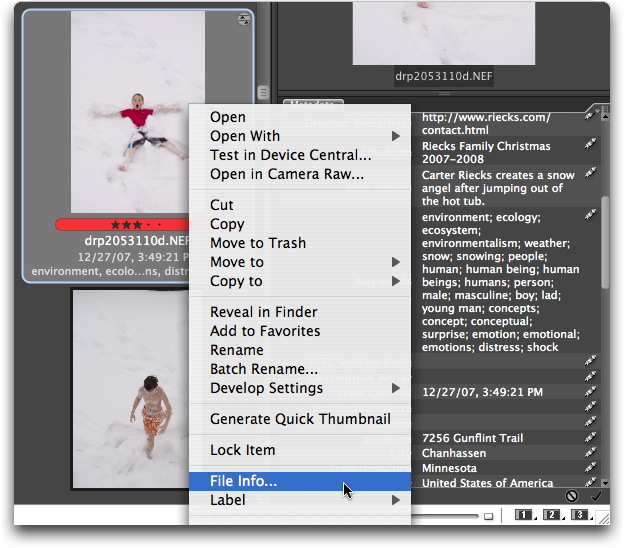
To add metadata to files, first select a file by clicking on it. Depending on the "view" you may have to click on a tab labeled "Metadata" to see the various fields. In the default view for Metadata Focused, you can enter information in the appropriate fields in the metadata pane, which is located under the Metadata tab in the top right corner of Bridge. The Metadata panel is visible in two CS4 standard workspaces: Essentials and Metadata. In the Metadata workspace, the "Metadata" panel is on the left side of the workspace, and in the Essentials view it is on the right.
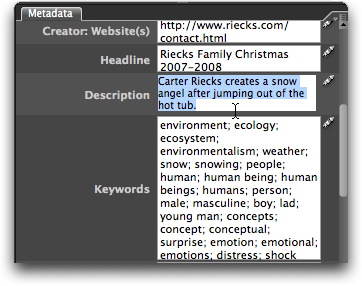
You can select and tag multiple files simultaneously. And note that after entering information in the Metadata panel, you must save it to the files by clicking the checkmark icon at the bottom of that panel.
In CS4, after entering the information, you must save it by clicking the checkmark icon at the bottom of the dialogue to Apply the info.
One of Bridge's biggest advantages is its tight integration with other Adobe applications.
By right-clicking or (on a Mac) control-clicking on an image and choosing File Info, or accessing File Info under the File menu, we see the same metadata fields within the same dialogue we as when selecting File Info in Adobe Photoshop CS through CS4 - except for one difference: The Bridge version of File Info allows you append or change the metadata in a JPEG file without recompressing the image.