Entering Metadata
Once you've imported images and saved a catalog (Save under the File menu), you are ready to enter information. But understand any new information you enter in Expression Media only exists within the image catalog at first. At any time, you can synchronize - or save to the image file - that information with the Sync Annotations option under the Action menu.
To enter metadata, first single-click on its thumbnail or file name. Be sure the Info panel is open, which may require toggling away from the Organize panel view or clicking on the Info Panel button in the tool bar.
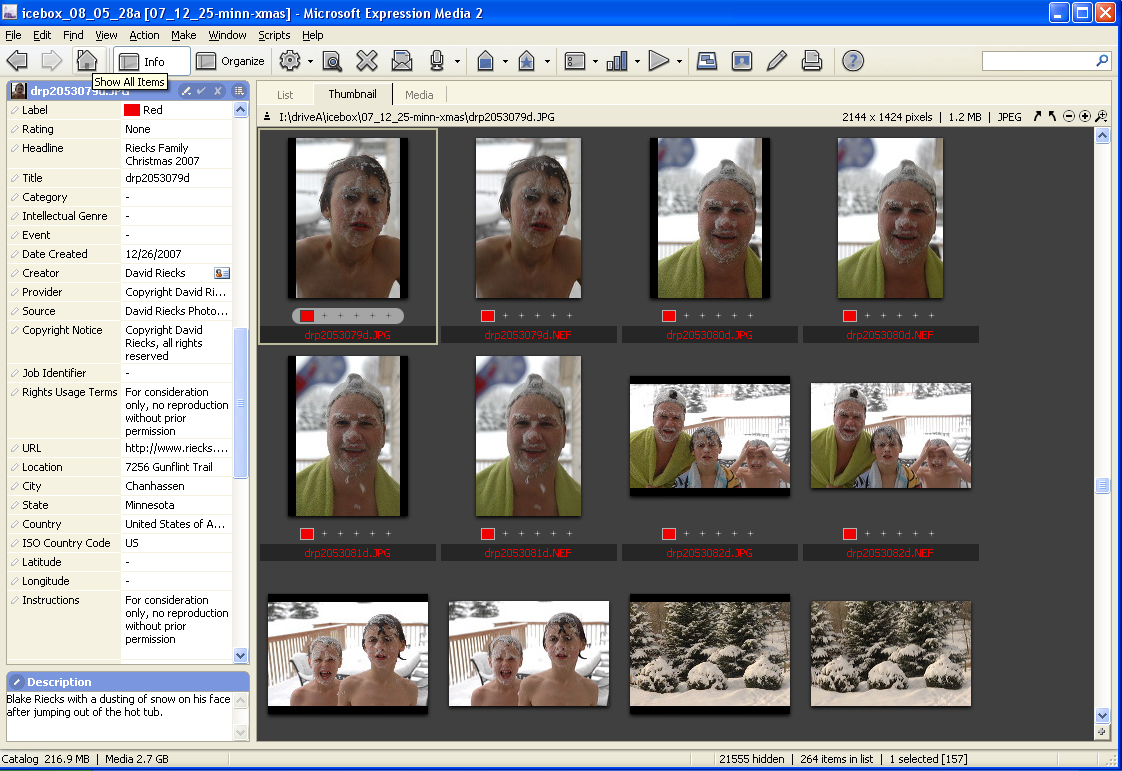
With Expression Media, you can add metadata to a single image or to multiple files at the same time. To choose a single image, click on it. To select a range, click on the first image, hold down the shift key and click on the last image in the range. You can also select non-contiguous images by pressing Command (Mac) or Ctrl (Windows) key while clicking on selected images.
To change the fields visible in the Info panel view, use the Show/Hide Fields option accessed from the icon beside the check mark, below the Organize Panel button.
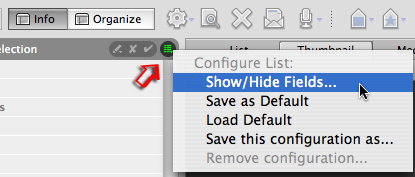
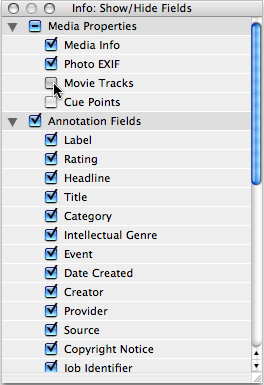
After clicking on that icon, you will see a pop-up menu, from which you can select the Show/Hide Fields option. Choosing this brings up a floating dialogue with check boxes that control which metadata fields display in the Info Panel. Use the triangles on the left to expand or collapse the sections. You may wish to uncheck options for movie tracks or cue points if you work only with still images.