Adding Metadata
With Photo Mechanic, you view and modify the IPTC information for individual images from the contact sheet. The simplest way is to hover your cursor over the first image you want to check or modify.
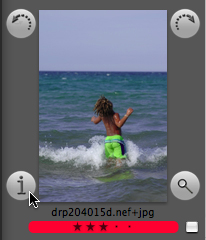
Click you see the lowercase letter “i” in a circle in the lower left of the thumbnail and the IPTC Info dialogue will open. You can also press the "i" key on your keyboard.
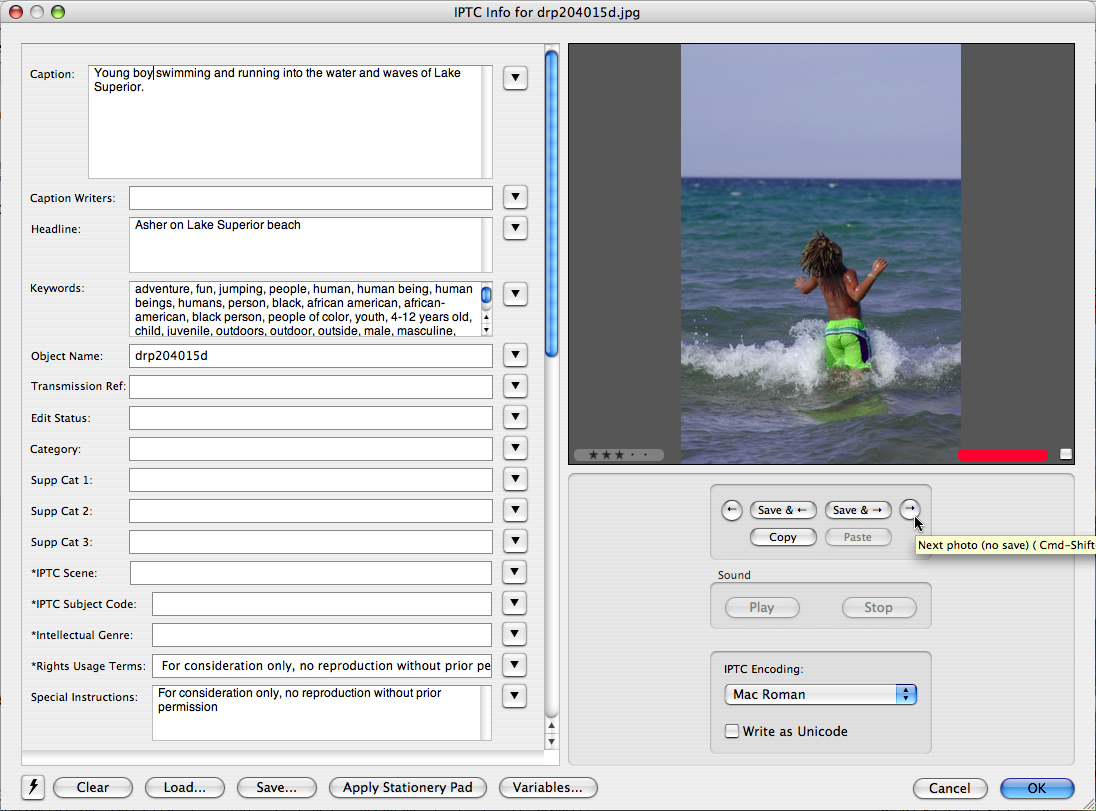
On the right side of the resulting IPTC Info dialogue, you will see several options:
- <- indicating Go to previous image
- Save & <- indicating Save the changes and go to the previous
- Save & -> indicating Save the changes and go to the next image
- -> indicating Go to next image
- Copy and Paste buttons that duplicate ALL contents of every field that includes information.
If you simply want to browse the images, just keep pressing the next button [ -> ]. There are keyboard shortcuts for most of these buttons. To view the shortcuts, hover your cursor over each button for a moment and a tool tip will appear.
While it’s possible to fill fields with metadata, and choose Copy before clicking on the Save & -> button and Paste it into the next image, it is much easier to use Photo Mechanic’s IPTC Stationary Pad for batch annotations. This stationary pad is much the same as the metadata templates in other programs, making it easy to enter the same metadata for several or many images at the same time. If you use that option, the IPTC Info dialogue provides an easy method to fine tune captions or keywords that change from image to image.
Star Ratings
The star ratings within Photo Mechanic are stored in the XMP metadata, so they work well with an Adobe workflow if you are using the preferences shown at the beginning of this tutorial. To apply, simply click any number of the grayed-out stars in the lower left of an image in the contact sheet, IPTC Info or Preview modes. If you prefer, there are shortcut keys for each rating. You’ll find the keyboard shortcut appropriate to your operating system under the Image menu, within the Set Rating of Photos submenu. This last method can apply the same star rating to any current selection of images, as well as single images.
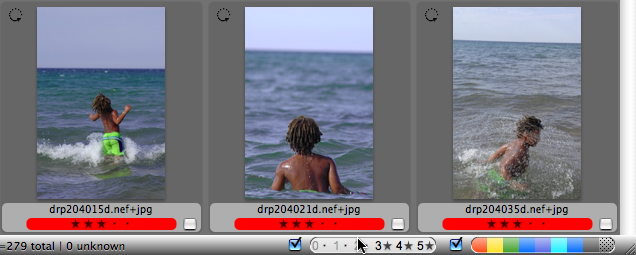
After rating images, you can easily show or hide those of a specific rating with the filters found in the lower-right border of the contact sheet view. Used in conjunction with color labels it's very easy to pinpoint your best images, or to pull together a set you need to process into a contact sheet, web gallery or set of images to email.