Basic Functions
Photo Mechanic works on a model of a photographic contact sheet. After opening Photo Mechanic, you are prompted to open a folder of images to work on. You can choose from the navigation menu presented or close the dialogue by pressing cancel and use the directory tree along the left-hand side.
As mentioned above, Photo Mechanic is primarily an image annotator. Once you annotate the images, you can move or copy them to their final destination. You can then catalog them with your choice of cataloging software, or ingest them into your enterprise Digital Asset Management (DAM) application. Then you will be able to search by keyword, caption, location, etc. The Find feature within Photo Mechanic is limited to searching the metadata only within the active contact sheet. The Find and Replace feature is more typically used to search and replace words or text strings. The Mac version taps into the underlying Spotlight search capability and uses this indexed information to perform systemwide searches within the Search and Quick Search features. For more detail, see the section in the left sub menu on Locating Photos.
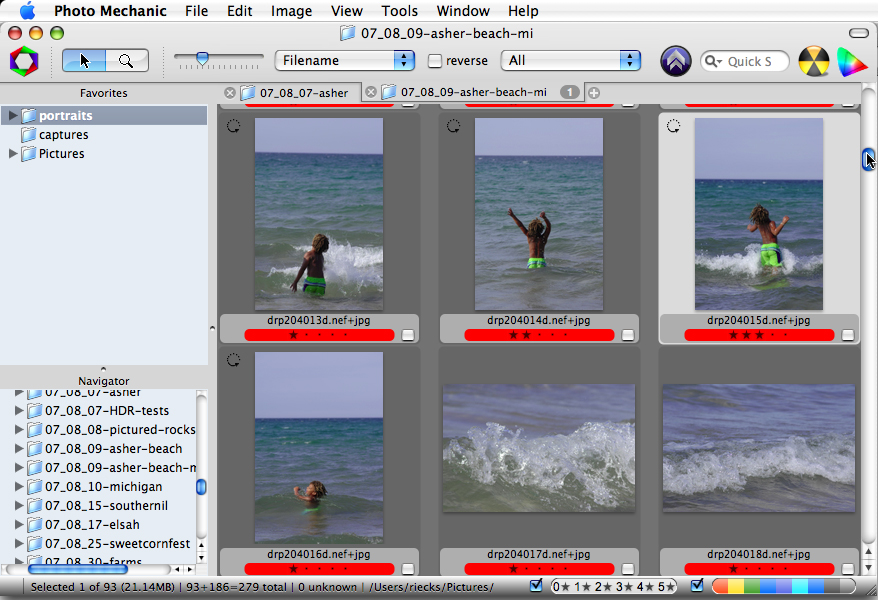
It is possible to open multiple contact sheets at once, although having many tabs open may affect software performance. If you capture Raw+JPEG, then you may notice the filenames in the contact sheet view show the name Raw file format with a +jpg added, such as “filename.nef+jpg.” Photo Mechanic lets you to treat both images as a single entity, something only a few other imaging applications allow. This saves you from having to select the pair of images each time you add metadata. (Note: Photo Mechanic writes metadata to both files using the settings you have specified in the IPTC/XMP tab of the Preferences dialog.)
Double-clicking any image thumbnail will open that image in a Preview window where you can see the entire frame, zoom in to a 1 : 1 view, compare it to others within the folder and much more. This tutorial focuses on entering metadata, so check out other tutorials, or view the Photo Mechanic User Manual for details about these other processes.